Introduction
What to buy first when renovating a bathroom, and in what order. The sequence that stops expensive mistakes, from layout to finishing touches.
Somewhere in the country right now, a beautiful new vanity unit is sitting in a hallway because nobody checked where the soil pipe actually runs. It happens more often than you would think. Bathroom renovations tend to go wrong not because people buy the wrong things, but because they buy the right things in the wrong order. Knowing where to start when designing a bathroom is genuinely more important than knowing what to buy. If you are searching for how to plan a bathroom renovation step by step, or simply want a proper bathroom renovation shopping list rather than a vague list of ideas, this is the sequence that professional fitters actually follow.
The Short Answer
Layout comes first, always. Then talk to your fitter before ordering anything. After that, buy in this order: the big three fixtures, basin and vanity, taps and brassware, heating, tiles, electrics, storage, and the accessories last. Buying order and installation order are not the same sequence, and confusing the two is where most budgets get blown.
Buying Order and Installation Order Are Two Different Things
This is the idea the rest of this guide sits on, and most renovation guides skip straight past it. You buy months before anything gets fitted, often in a completely different sequence to how the room actually goes together on site. Tiles, for instance, are usually bought early so they have time to arrive, yet they are fitted relatively late in the physical build. Understanding that these are two separate timelines, one for purchasing and one for installation, is what stops a delivery turning up six weeks before anyone can use it, cluttering a hallway or a garage in the meantime.
Before You Buy Anything: The Four Decisions That Lock Everything Else
Four decisions need to be settled before a single product goes in a basket.
First is your layout, since every other choice is priced and sized against it. Second is your budget, ideally split roughly across fixtures, fitting labour and finishing touches so no single category eats the whole pot. Third is who is actually fitting the room — a single trader, a small team, or a full bathroom company — since this affects both cost and how flexible your buying order can be. Fourth, and most overlooked, is whether your soil pipe and waste can realistically move, since this single constraint can make or break an ambitious new layout.
Getting these four decisions right before browsing a single bathroom suite online is genuinely the difference between a smooth renovation and a stressful one. Most people want to start with the fun part, choosing tiles or a striking freestanding bath, but every one of those choices is downstream of these four fundamentals. A rough written answer to each, even a single sentence per decision, is enough to stop the project drifting once the ordering begins.
Step 1: Layout First, and Nothing Before It
Everything downstream of this decision is priced by it. Where the plumbing points already sit, which way the door swings, and how the room ventilates all shape what is even possible before you look at a single tile sample. Moving a WC a metre away from the existing soil pipe sounds simple on a mood board and can be genuinely expensive in reality. Settle the layout on paper, ideally to scale, before you fall in love with a specific vanity unit that might not actually fit once the real measurements are in.
Step 2: Talk to Your Fitter Before You Order
This is the step almost everyone skips, and it costs nothing to do. A good fitter will immediately tell you what will not work in your specific room: a shower enclosure that is a few centimetres too large for the space, a basin that will not clear the door swing, or a heated towel rail sized for a room twice the size of yours. That single conversation, ideally with a rough plan and a wish list in hand, can save weeks of returns and re-ordering later. It is the cheapest piece of advice in the entire renovation.
Step 3: The Big Three
Your bath, shower enclosure and WC toilet set the footprint of the whole room, and they are by far the hardest and most expensive items to change once fitted. Decide these first, sized properly against your layout from Step 1, since every other product in the room is chosen to fit around them rather than the other way round. A concealed cistern, if you are going that route, needs to be built into the wall at an early stage too, so this decision cannot be left until later without real cost implications. Browsing shower enclosures UK-wide before this stage is settled is a common trap, since a stunning enclosure found online may simply not suit the footprint your layout allows.
Step 4: Basin and Vanity
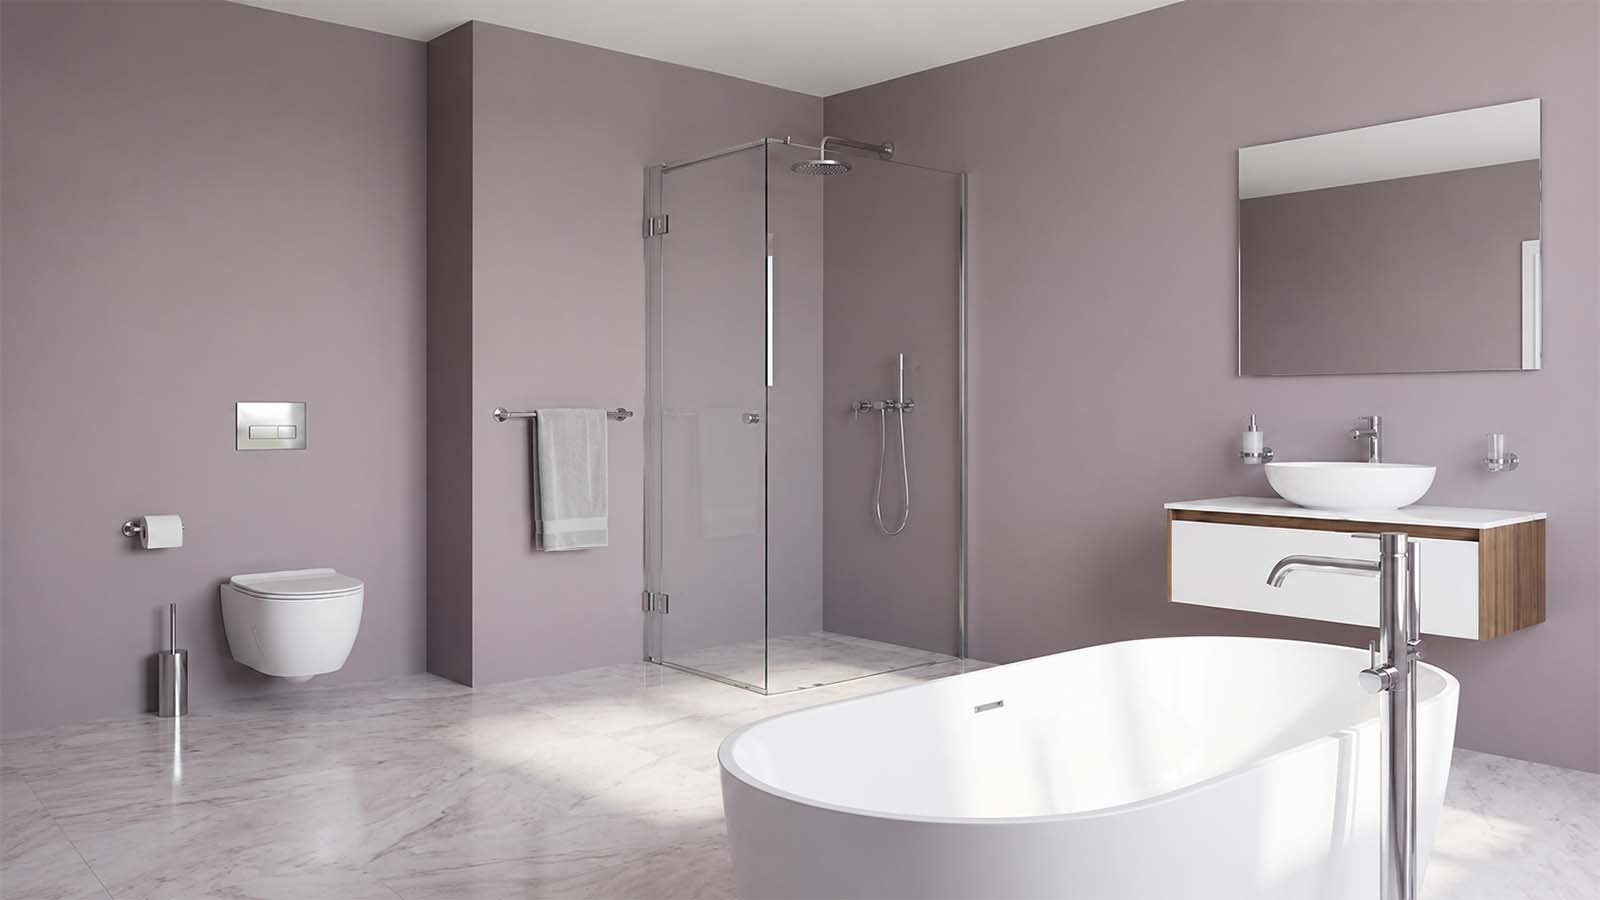
Choose your bathroom basin and vanity unit once the big three are settled, sized to whatever space is genuinely left rather than the dimensions in a photo you liked online. This is one of the most common bathroom design mistakes to avoid: falling for a vanity unit online and only discovering afterwards that it leaves no clearance for the door to open fully. If you are comparing bathroom basins that UK retailers stock, take your actual remaining wall width with you, not the width you were hoping for.
Step 5: Brassware and the Tap-Hole Trap
Taps, your shower valve and the waste all come next. Here is a detail that catches out more renovations than almost anything else on this list: taps and basins have to be bought as a pair, since tap-hole configurations vary between basins, and a beautiful tap bought separately can simply fail to fit the basin you already chose. Always check tap-hole count and spacing against the specific basin, not just the style you like the look of. This is one of the most useful lessons in learning how to choose bathroom fixtures generally, since the same tap-hole logic applies whether you are browsing bathroom taps UK-wide or shopping a single specific range.
Step 6: The Heating Decision
The choice between a towel rail or a panel radiator, plumbed or electric, has to happen before the walls close up, since pipework and electrical supply both need to be in place at the first fix stage. If you are torn between a heated towel rail running off the boiler and one that works independently all year round, it is worth reading a dedicated comparison of electric versus central heating options before committing, since the right choice depends heavily on how the room is used and whether pipework already runs nearby. Whatever you choose, size it against the room using a proper BTU or wattage calculation rather than guessing from the photo. If you are comparing bathroom radiators UK-wide, check that the output figures use a consistent testing standard so you are comparing like for like.
Step 7: Tiles and Flooring
Wall tiles and floor tiles are ordered relatively late in the buying sequence but need to be delivered early, well before the tiler is due on site, since lead times and breakages both eat into a tight schedule. Always order extra, roughly ten percent beyond your measured area, to cover cuts, breakages and any future repairs, since matching a discontinued tile years later is often impossible.
Step 8: Lighting, Extraction and Electrics
This step covers bathroom lighting, the extractor fan, and every socket or spur in the room. It needs careful thought around bathroom zones and IP rating requirements, given how close everything sits to water. A mirror with built-in lighting or demisting needs a spur behind it, which has to be planned at first fix, long before the mirror itself is anywhere near being bought.
Step 9: Mirrors, Storage and Furniture
With the fixed elements settled, your bathroom mirror, an LED bathroom mirror if you are going that route, and any additional bathroom storage or furniture come next. These pieces are chosen against the finishes already committed to in earlier steps — tiles, brassware and heating — rather than in isolation. If you are comparing bathroom mirrors UK-wide at this stage, take a photo of the finished brassware and lighting plan with you, since a mirror frame chosen in isolation is one of the easier mismatches to make this late in the process.
Step 10: Accessories Last
Towel rails aside, the smaller bathroom accessories — hooks, holders, dispensers and the like — are chosen right at the end, once every fixed finish in the room is settled. Buying these too early is a common trap, since a beautiful accessory set bought in month one can clash badly with brassware chosen in month three. If you want a deeper look at getting this final layer right, a guide on matching bathroom accessories to your existing taps and fittings is worth reading before you commit to a full set.
What Actually Gets Installed, and When
The buying sequence above does not match the installation sequence on site, and it is worth understanding the difference. First fix covers the structural and hidden work — plumbing routes, waste pipes, electrical cabling — before any wall is closed up. Second fix follows once walls and floors are finished, covering the actual fitting of the bath, basin, WC, taps and towel rail. Tiling generally happens between the first and second fix. Lighting, mirrors and accessories are fitted last of all, once the room is otherwise complete and unlikely to be knocked or scratched by other trades still working nearby.
|
Stage |
What happens |
When it is bought |
|
First fix |
Plumbing routes, waste, electrical cabling |
Big three, heating, brassware already ordered |
|
Tiling |
Walls and floor tiled |
Tiles ordered weeks earlier |
|
Second fix |
Bath, basin, WC, taps and rail fitted |
Already delivered and on site |
|
Electrics finished |
Lighting, extractor, spurs live |
Ordered alongside second fix items |
|
Final layer |
Mirror, storage, accessories fitted |
Bought last, chosen against finished room |
The One-Page Buying Order Checklist
Everything above in one place. Work down this list in order, and you will not need to circle back.
- Layout — settle it on paper before anything else.
- Fitter conversation — confirm what will and will not work in your room.
- The Big Three — bath, shower enclosure and WC.
- Basin and vanity — sized to the space that is genuinely left.
- Taps and brassware — bought as a pair with the basin, never separately.
- Heating — towel rail or radiator, decided before the walls close up.
- Tiles — ordered early for lead time, fitted relatively late.
- Electrics — lighting, extraction and sockets, planned at first fix.
- Mirrors and storage — chosen against the finishes already committed to.
- Accessories — last, once every other finish in the room is settled.
Keep this list next to your budget and lead-time notes, and check items off as they are ordered rather than as they are fitted, since the two rarely happen at the same time.
Lead Times Are the Real Constraint
This is where good buying-order planning genuinely saves a renovation. A basin might arrive in three days. A bespoke vanity unit or a specific tile range can take eight weeks or more. The entire job, fitter included, often waits on whichever single item has the longest lead time, so it pays to identify that item early and order it first, well before anything with a shorter lead time, even if it feels premature to commit that early.
A useful habit, borrowed from anyone who has fitted more than a handful of bathrooms, is to ask every single supplier for a lead time before placing an order, not just an approximate delivery window. Standard, in-stock ranges from larger retailers tend to move quickly, often within a week, while anything bespoke, hand-finished, or made to order can run considerably longer. Building your whole schedule around the slowest item, rather than assuming everything will arrive at a similar pace, is what keeps a fitter's diary and a delivery schedule actually lining up.
Buying Order at a Glance: A Simple Timeline
Lead times, not fitting time, usually set the pace of a renovation. Here is roughly how the buying order lines up against a typical schedule.
Weeks 1-2: Order the Big Three, tiles and any bespoke vanity unit, since these have the longest lead times.
Weeks 2-3: Confirm heating and brassware, since both need to be in place before the first fix.
Weeks 3-6: Tiles and remaining items arrive and are held ready for the fitter.
Week 6 onward, once the fitter starts: First fix, then tiling, then second fix, using everything already delivered.
Final days: Electrics finished, then mirrors, storage and accessories fitted last.
Adjust the exact weeks to your own project, but keep the order itself fixed. The items with the longest lead times are always ordered first, regardless of when they are actually installed.
Where the Budget Actually Goes
As a rough guide, the big three, brassware and heating tend to absorb the largest share of most bathroom budgets, since these are the most expensive individual items. Tiling and labour typically make up the next largest portion. The two places where spending slightly more genuinely pays back over time are the shower valve or mixer, since a poor one is expensive and disruptive to replace later, and the extractor fan, since inadequate ventilation causes damp and mould issues that cost far more to fix down the line than the fan itself would have cost to upgrade at the outset.
If you are working through a full bathroom renovation buying checklist, it is worth ring-fencing a small contingency. Most experienced renovators suggest somewhere around ten percent of the total budget, for the inevitable surprise that turns up once the old suite comes out and the real state of the pipework or floor becomes visible.
Five Ordering Mistakes That Cost Money
Buying the whole suite before confirming the layout is the first mistake, since a beautiful bath that does not fit the actual room is an expensive lesson. Buying taps that do not match the basin's tap-hole configuration is the second, and one of the most common returns in the entire industry. Ordering tiles with no spare is the third mistake, leaving no margin for breakages or future repairs. Treating heating as an afterthought, decided after the walls have already closed up, is the fourth, often forcing a compromise that a slightly earlier decision would have avoided entirely. And choosing accessories from a completely different range to the brassware, without checking the finishes actually sit together, is the fifth, undoing the polish of an otherwise well-planned room right at the final step.