Introduction
How to waterproof a bathroom before tiling, what tanking actually is, which areas genuinely need it, and exactly where DIY should sensibly stop.
The leak that ruins a bathroom rarely appears straight away. It can take years to reveal itself, and by the time it does, the bathroom is often the last place to show any sign of trouble. Instead, it is usually a damp patch spreading across the ceiling below or a section of skirting that gives way under pressure. By then, the tiles and grout, which may have looked perfectly sound all along, were never really the problem. The problem was the waterproofing system behind them, which may have been failing quietly since the bathroom was completed. This is the stage that most guides to tiling overlook, yet it is the one that determines whether a bathroom lasts for fifteen years or begins causing problems within two.
Waterproofing a bathroom properly means fitting a continuous membrane, known as tanking, behind the tiles in every wet area before a single tile goes up. Grout and silicone do not provide a complete waterproofing system because grout is porous and silicone can deteriorate over time, and water will eventually find its way behind them regardless of how carefully they're applied.
Tiles and Grout Are Not Waterproof
This is one of the most common misconceptions surrounding bathroom waterproofing, and it catches out more renovations than almost anything else in a bathroom. Tiles themselves are largely water-resistant, but grout is porous by nature, and silicone sealant around the edges perishes over time, shrinking, cracking and pulling away from the joint it was meant to protect. Water doesn't need a visible gap to get through either. It travels through the tiniest capillary path in the grout line, behind the tile, and into the substrate beneath the tiled surface. Bathroom waterproofing exists precisely because tiling alone was never designed to be the barrier. It is intended to act as the finished surface in front of a dedicated waterproof barrier.
What Tanking Actually Is
Bathroom tanking is a continuous waterproof membrane applied to the walls and floor before tiling, not a coating brushed onto the tiles afterwards. It sits between the substrate and the tile adhesive, forming an unbroken barrier that water cannot pass through, even if it does eventually work its way past the grout and silicone above it. A proper bathroom tanking system covers every seam, corner and penetration as a single connected layer, rather than relying on separate products that were never designed to meet each other cleanly. Once tiling is complete, the membrane is invisible, but it provides the waterproof barrier that the finished tiled surface cannot provide independently.
Which Areas of Bathroom Require Waterproofing?
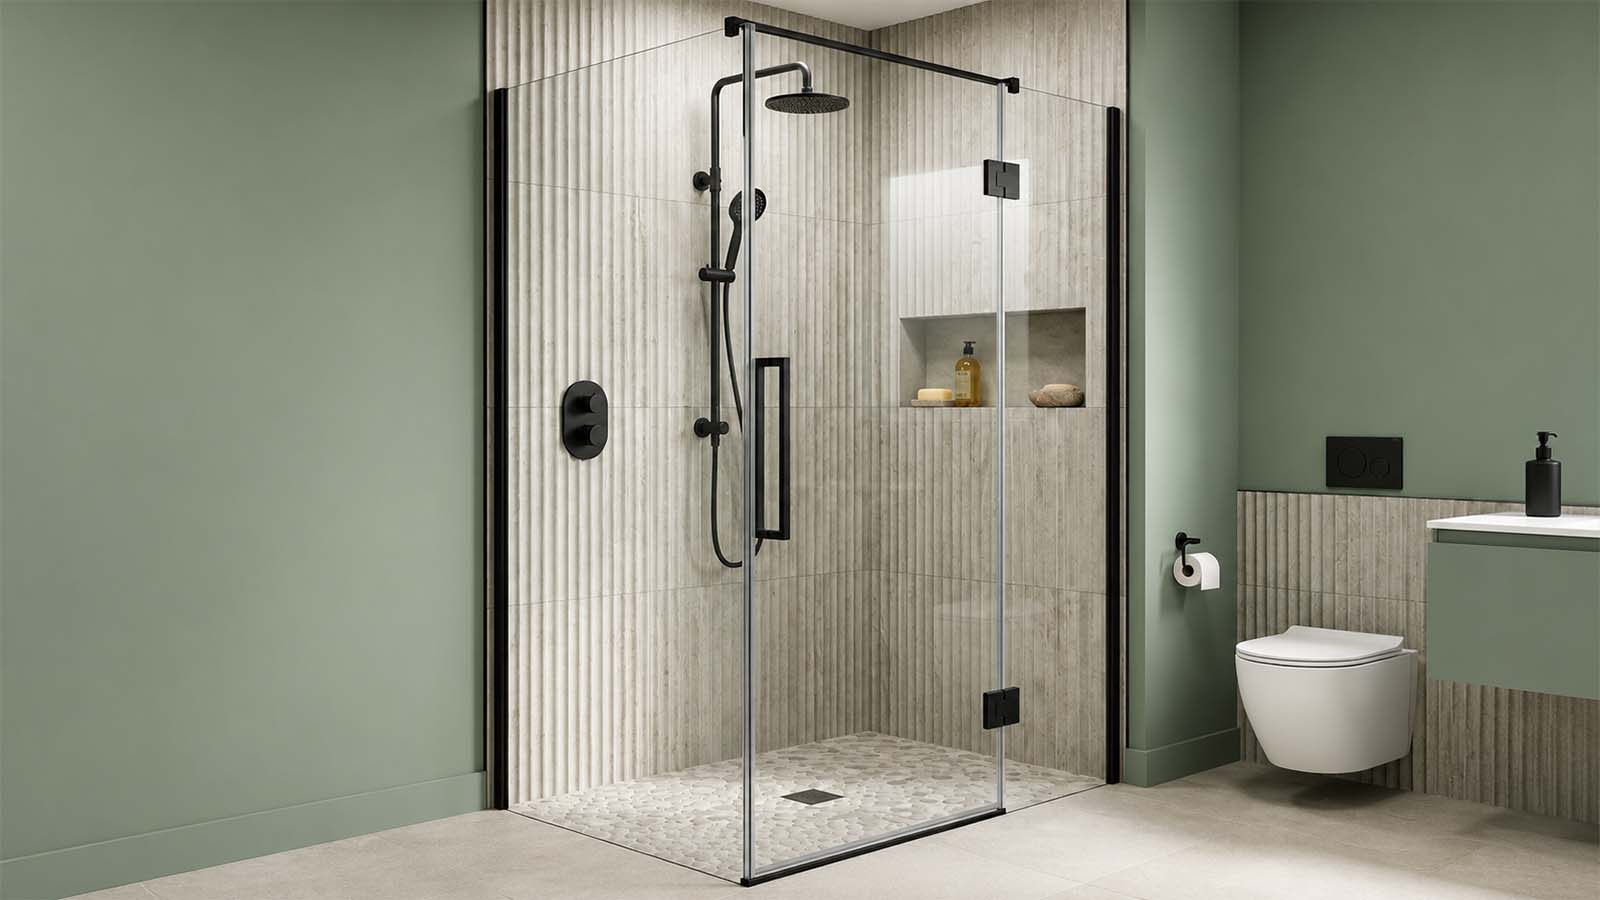
A wet room requires comprehensive waterproofing, while the walls and floor within a shower enclosure require protection against repeated water exposure, since water is directly and repeatedly hitting the walls and floor in that specific area. A standard bathroom with a bath and an enclosed shower over it needs less coverage, but it still needs proper waterproofing around the enclosure itself, the floor immediately surrounding it, and any splash zone near a basin or a freestanding bath. The required level of protection depends on how frequently and directly each area is exposed to water rather than on the boundary of the room as a whole.
The Zones That Actually Need Waterproofing
Four areas require particular attention. Inside the shower enclosure itself is the obvious one, with both the walls and the floor needing protection, since this area is soaked daily. The floor immediately around the enclosure needs the same treatment, since splashing and door gaps both send water beyond the enclosure more often than people expect. Splash zones around a basin, a bath or anywhere water is regularly thrown or dripped also need coverage, even outside a dedicated shower area. Finally, height matters as much as location. A membrane that finishes below the required height may leave part of the wall insufficiently protected, regardless of how well it was applied.
Start With the Substrate
This single decision shapes almost everything that follows, and it's worth settling before any product is bought. Plasterboard can be tanked directly, provided it is a moisture-resistant plasterboard in good condition, but ordinary plasterboard that is already showing signs of damp needs to come out rather than be tanked over. Plaster, similarly, can be tanked if it is sound and dry, but crumbling or hollow-sounding plaster should be repaired or replaced before a membrane is applied. Timber, especially in older properties, tends to move with humidity in a way that can eventually crack a membrane bonded directly to it, so it usually needs a rigid board fitted first. An unsuitable or unstable substrate is a common cause of premature waterproofing failure.
Backer Board or Tanking a Plasterboard Wall
There are two established approaches, depending on the room and the substrate. Tanking directly onto moisture-resistant plasterboard is the cheaper, quicker option, and it can be suitable for a standard bathroom when installed in accordance with the system manufacturer’s requirements. A tile backer board, fitted first and then tanked, is the sturdier route, and it's effectively the standard approach for a wet room, since it gives a flatter, more rigid surface and copes better with the constant, direct water exposure that a wet-room floor and walls receive. If you're building a wet room from scratch, backer board followed by tanking is generally the more robust approach.
Liquid Membrane, Sheet Membrane, or a Kit?
There are three broad ways to tank a bathroom, and each suits a slightly different situation.
|
Option |
Best suited to |
Worth knowing |
|
Liquid waterproof membrane |
Awkward shapes, corners, and pipe penetrations |
Painted on in coats, flexible around detail, needs proper curing time between coats |
|
Sheet membrane |
Large, flat wall and floor areas |
Faster to apply over flat runs, but still needs liquid membrane or tape at joints and corners |
|
Bathroom tanking kit |
Standard shower enclosures and straightforward wet rooms |
Convenient and consistent, though pre-cut kit pieces can fall short in an oddly shaped or period bathroom |
Bathroom tanking kits commonly include a membrane, sealing tape and preformed corner pieces, which is genuinely useful for a standard rectangular enclosure. However, kits tend to fall short when the room is less conventional, whether it is an awkward alcove, an unusually deep upstand or a period bathroom with pipework in an inconvenient spot, because performed kit components may not accommodate every non-standard layout.
Why Joints and Penetrations Require Particular Attention
Flat wall and floor areas are generally simpler to waterproof than joints, corners and penetrations. Many waterproofing failures begin at joints, corners or service penetrations, and there are four in particular worth taking seriously. The floor-to-wall joint, where two planes meet, needs proper tanking tape bedded into liquid membrane rather than just membrane painted over the corner and left to dry. Internal corners need the same tape treatment, since a membrane simply folded into a corner tends to crack exactly where it's needed most.
Pipe penetrations need a purpose-made pipe collar, sealed into the surrounding membrane, rather than silicone alone around the pipe. The shower tray upstand, where the tray meets the wall, is another frequently overlooked joint, and it needs the same taped, bedded approach as the floor-to-wall joint rather than a quick bead of sealant. Every one of these joints matters more than the square metre of the flat wall around it.
The Step-by-Step
Once the substrate is confirmed sound, the sequence itself is straightforward, provided none of the steps are rushed or skipped. Start with a waterproofing primer appropriate to the substrate, since skipping this is one of the most common reasons a membrane fails to bond properly. Tape every joint, corner and pipe penetration next, bedding the tape into a first layer of liquid membrane rather than laying it dry. Apply the first full coat of membrane across the whole area, walls and floor together, working it into every taped joint as you go. Once that coat has healed, apply a second coat at right angles to the first, which closes any pinholes the first coat may have left and helps create a consistent membrane thickness. Allow the full system to cure properly before testing, and only move on to tiling once that curing time has genuinely passed rather than assuming it is close enough.
Curing Time Is Not Optional
Insufficient curing can compromise the performance of the entire waterproofing system, not just a small patch of it. A membrane that hasn't fully cured before tiling starts can be disturbed by the weight and movement of tiling work, leaving weak areas that may become apparent only after repeated exposure to water. Manufacturers state curing times for a reason, and those times exist because the membrane genuinely needs that period to reach full strength and flexibility. Tiling a day early to keep a schedule moving is one of the most common reasons an otherwise correctly fitted tanking system fails within the first year or two.
Typical Tanking Sequence And Curling Stages
It helps to see roughly how long the whole process actually takes, since curing time is usually the part people underestimate most when planning a renovation around a fitter's diary.
Day one covers priming the substrate and taping every joint, corner and pipe penetration, bedding the tape into a first thin layer of membrane as you go. Day two is for the first full coat across the whole wall and floor area, applied once the taped joints have had a chance to firm up. After the first coat has healed, usually a day or so depending on the product, the second coat goes on at right angles to the first. From there, the full system needs its stated curing time before anything else touches it, often two to three days depending on the manufacturer, temperature and humidity in the room. Only after the manufacturer’s stated curing period has elapsed. Rushing any single stage in this timeline to save a day rarely saves anything in the end. It just moves the delay further down the job, usually in the form of a callback once a leak shows up.
The Shower Tray and the Wet Room Former
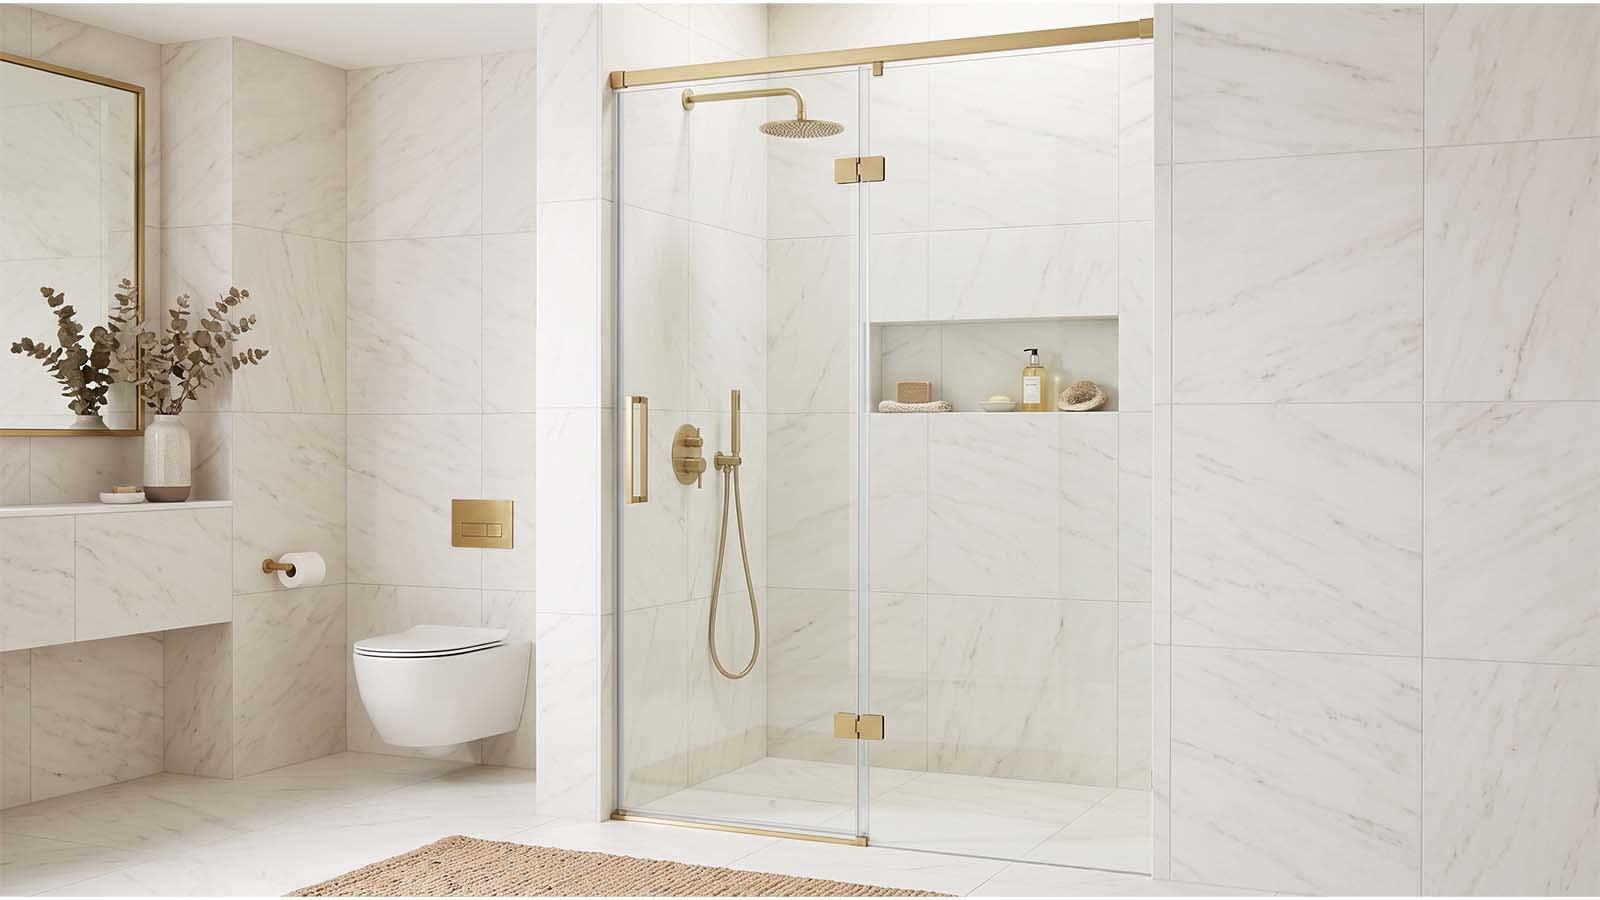
Where the membrane meets a drain is one of the most failure-prone details in the entire job, and it requires careful detailing to maintain a continuous waterproof barrier. With a standard shower tray, the membrane needs to run up and over the tray's flange before the upstand tile sits on top, so water running down the wall is directed back into the tray rather than behind it. With a wet-room former, the sequence matters even more, since the membrane has to follow the falls built into the former precisely, meeting the drain at exactly the right point with no low spots for water to pool in along the way. A wet-room kit usually includes a former specifically designed to make this sequence easier to get right, which is worth considering over building falls from scratch on site.
Tanking Then Tiling
Once the membrane has cured, tiling can begin, but a couple of details still matter. Tile adhesive needs to be genuinely compatible with the membrane beneath it, since not every standard adhesive bonds reliably to every membrane surface, and this is worth confirming rather than assuming. Mechanical fixings also require advance planning. Screwing a mirror bracket, a grab rail or a shelf bracket through a tiled, tanked wall punctures the membrane at exactly the point it's meant to be protecting, so any fixings need planning before tanking begins, not added as an afterthought once tiling is finished.
What Waterproofing Doesn't Do
A waterproof membrane does not replace adequate drainage, ventilation or suitable substrate preparation. It won't fix a bathroom with no working extractor fan, since trapped moisture and steam will still cause damp and mould on surfaces the membrane was never protecting in the first place. It won't correct a floor with no proper falls towards the drain, since standing water sitting on top of a perfectly good membrane will still find its way to a seam eventually. And it certainly won't compensate for poor ventilation generally, since tanking manages water that gets behind the tile, not moisture sitting in the air of the room itself. Waterproofing and ventilation are two separate jobs that happen to sit in the same room, and perform separate functions and should be planned independently.
Building Regulations and the Limits of DIY Installations
Tanking itself isn't typically a notifiable job under building regulations, but some electrical work carried out in or around bathroom zones may be notifiable depending on the nature and location of the work, such as extractor fans, shaver sockets and lighting inside zones close to water, usually is, and Part P applies to that work regardless of who's doing the tiling. A standard bathroom with a shower enclosure may be suitable for competent DIY installations when the complete manufacturer’s approved system is followed for anyone reasonably competent and willing to follow curing times properly. A full wet room, with a former, falls built into the floor and a drain to tie everything into correctly, is where most competent DIYers may require professional installation because of the complexity of falls, drainage and membrane detailing, and it's worth bringing in a professional rather than risking a floor that has to be dug up again.
Five Waterproofing Mistakes That Cause Leaks
Tanking only inside the shower enclosure and stopping at its edge is the most common mistake, since splash zones just outside it rarely get the coverage they actually need. Skipping the primer to save time is a second, and it undermines the bond of everything applied afterwards.
Applying a single coat instead of two is a third, leaving pinholes and thin patches that only reveal themselves once water starts testing the membrane daily. Ignoring corners and joints, treating them as an extension of the flat wall rather than a detail in their own right, is a fourth, and it's where the vast majority of real failures actually start. Tiling too soon, before the membrane has genuinely cured, is the fifth and possibly the costliest, since it can undo an otherwise correctly fitted system before it's even had the chance to work.
Signs Your Bathroom Already Has a Waterproofing Problem
Not everyone reading this is planning a renovation. Some people are simply wondering whether their existing bathroom already has a problem, and there are a few honest signs worth checking for. Grout that feels soft or crumbly, or is visibly fitting away from the tile, particularly low down near the floor or around the shower tray, is often the first visible clue. A floor that feels slightly spongy or gives underfoot near the enclosure suggests moisture has already reached the substrate beneath the tile.
A persistent musty smell that air freshener never quite covers, even with the extractor fan running, usually points to damp trapped somewhere it shouldn't be. Discoloured or blackened silicone around the shower tray or bath, especially where it keeps returning shortly after being cleaned, is another common sign. Perhaps most telling of all is any staining, bubbling paint or sagging patch on the ceiling directly below the bathroom, since this is usually the point at which a hidden problem finally becomes impossible to ignore. Any one of these on its own is worth a closer look. Two or more together usually mean the tanking behind the tile has already failed.
What It Costs vs What a Leak Costs
A proper tanking job, with the kit, membrane, tape and primer included, is a modest addition to the overall cost of a bathroom renovation, typically a small fraction of what's already being spent on tiles, fixtures and labour. A leak that goes unnoticed for two years, by contrast, can mean replacing a ceiling below, drying out and repairing a damp subfloor, and re-tiling the entire wet area from scratch, on top of whatever caused the leak in the first place. Measured honestly against each other, waterproofing is one of the very few places in a bathroom renovation where spending a little more and doing it properly the first time is almost never regretted later.